
What is MAMP
MAMP (Mac, Apache, MySQL, PHP) is a popular tool for local PHP development on macOS. It provides a complete web development environment that includes the necessary components for running PHP applications locally, such as a web server (Apache), a database server (MySQL or MariaDB), and PHP itself. MAMP makes it easy to set up and manage these components, allowing PHP developers to work on their projects without the need for a live server.
Here are the step-by-step instructions to download and install MAMP on macOS:
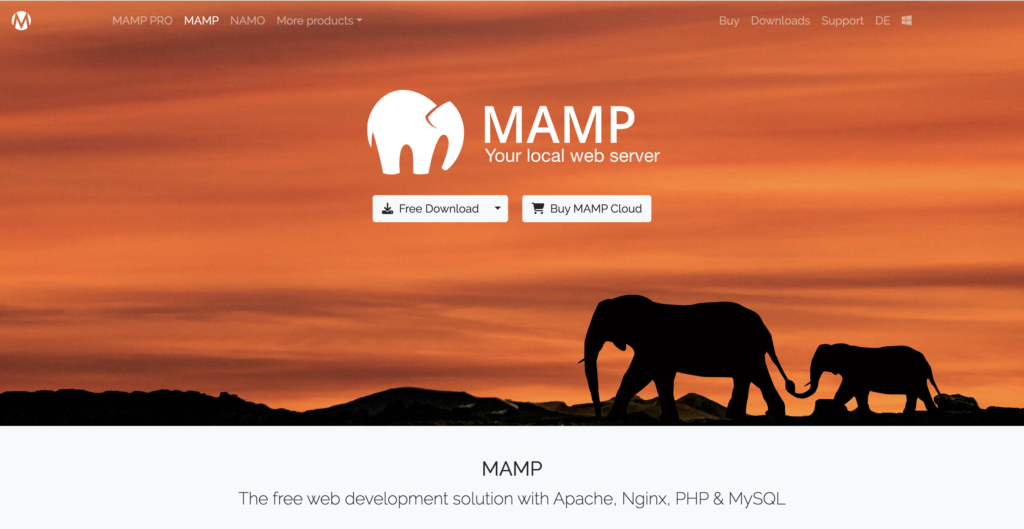
Step 1: Download MAMP
- Visit the official MAMP website at https://www.mamp.info/.
- Click on the “Download” button to access the download page.
- On the download page, you will find two versions: MAMP (free) and MAMP PRO (paid). For most PHP development purposes, the free version is sufficient. Click the “Download” button next to the free version.
Step 2: Install MAMP
- Once the download is complete, locate the downloaded file (typically in your “Downloads” folder).
- Double-click the downloaded file to start the process to install MAMP.
- Follow the on-screen instructions to proceed with the installation.
- You may be prompted to enter your administrator password during the installation process. Provide the necessary information to continue.
Step 3: Launch MAMP
- After the installation is complete, navigate to your Applications folder and find the MAMP folder.
- Open the MAMP folder and double-click the “MAMP” application icon to launch MAMP.
Step 4: Configure MAMP
- Once MAMP is launched, the MAMP control panel will appear.
- In the control panel, click on the “Start Servers” button to start Apache and MySQL. The server status indicators will turn green once the servers are running.
- By default, MAMP uses port 8888 for Apache and port 8889 for MySQL. If you prefer different ports, you can change them in the Preferences section of the control panel.
- In the control panel, click on the “Open WebStart page” button. This will open the MAMP start page in your default web browser.
Step 5: Test the Installation
- On the MAMP start page, you will see information about the server environment and configuration.
- To test if PHP is working correctly, click on the “phpMyAdmin” link in the Tools section. This will open phpMyAdmin, a web-based tool for managing MySQL databases.
- If phpMyAdmin opens successfully, it means that PHP and MySQL are working correctly with MAMP.
Congratulations! You have successfully installed and set up MAMP on macOS for PHP development. You can now create and work on your PHP projects by placing them in the “htdocs” folder located within the MAMP installation directory. Access your projects through a web browser by entering “http://localhost:8888/” (or the custom port you set) followed by the project folder name. For example, if you have a project named “myproject” inside “htdocs,” you can access it at “http://localhost:8888/myproject/“.
If you’ll like to take your development environment to the next level, learn how to configure a custom domain using MAMP.